Drywall, also known as sheetrock, is a gypsum board that is used to cover your walls. Historic homes used lathe and plaster to cover the walls, but drywall allows us as remodeling contractors to create a uniform wall thickness with specialty drywall types for unique applications. This complete guide to drywall will help you decide what kind will work best for your next remodeling project.
Half-inch drywall is commonly used in residential construction, but thicknesses range from ¼” to 5/8″. It’s sold in 4′ widths, with lengths of 8′, 10′ and 12′.
While the shorter 4′ x 8′ sheets of drywall are perfect for remodeling, in larger projects or projects where access is easier, 12′ panels can lay flatter and be less expensive because of increased coverage.
Complete Guide to Drywall: Types of Specialty Drywall
Type X
Type X drywall is 5/8″ thick and used as a fire break. These panels are UL listed and increase a normal 1/2″ wall’s 30-minute fire rating to one hour.
This drywall is used where required by code, but also as extra insurance by some of our remodeling clients.
Common places to find fire-rated drywall are between homes and garages, in condominiums or multifamily dwellings, in mechanical rooms, and on ceilings between floors.
X-code drywall is used for its fire resistance, but as builders, we find it makes homes quieter, sturdier, and feel like they are better quality.
Mold Resistant
Moisture-resistant drywall is often called “green board” by remodeling contractors. It gets its nickname from the color of the mold-resistant paper that covers the gypsum core.
Although many of these panels are green, some manufacturers use other colors, such as purple.
We recommend our clients use green board during bathroom remodeling projects, behind the sink base when remodeling a kitchen, in a laundry room, and in basements. Mold-resistant drywall comes in ½” and 5/8″ thicknesses.
Flexible Drywall
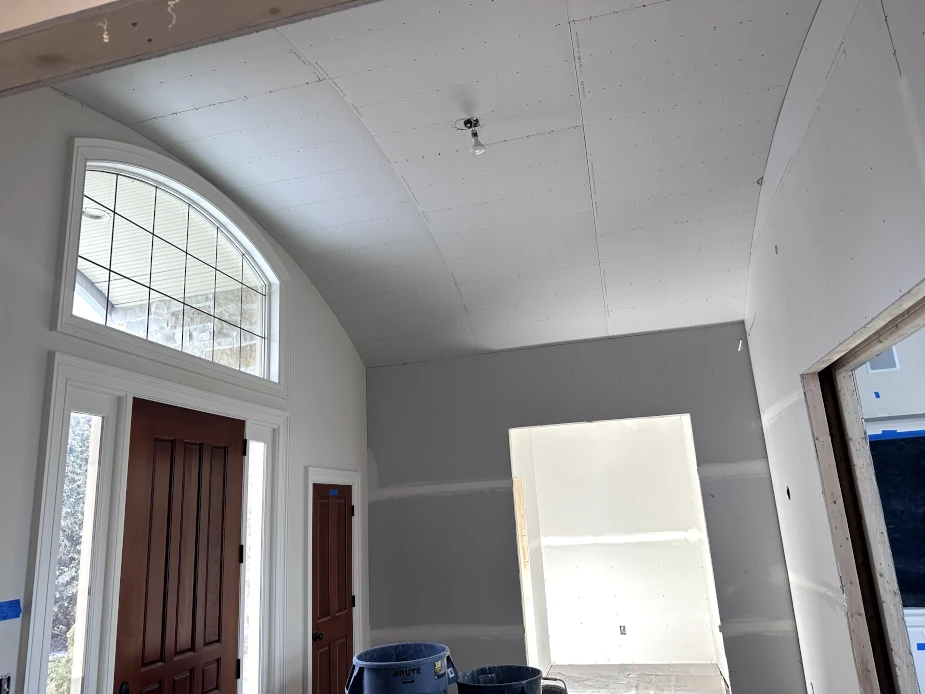
Flexible drywall is a ¼” drywall used for curved walls, ceilings, arches, and staircases. Because it is designed to bend, there are fewer risks of cracking when compared to standard 1/4″ drywall.
Ballistic Drywall
While rare in residential applications, drywall with ballistic ratings can be used for high net worth clients to secure bedrooms, panic rooms, and other areas where clients might want to hide from intruders, rioters, and kidnapping attempts.
Ballistic drywall—drywall that stops bullets—is most commonly used in specialty retail, government, and data facilities. These specialty panels are available in sizes up to 5′-10′, have a one-hour fire rating, are lighter than equivalent steel, and can provide up to NIJ0108.01 (Level III standard) protection.
Acoustic Drywall
Acoustic drywall panels are available in 1/2″, 5/8″, and 1-3/8″ thicknesses. This specialized type of drywall outperforms standard drywall and even multiple layers of standard drywall at preventing sound transmission between spaces.
As home remodeling contractors, we love this drywall for home theaters, on wet walls in bathrooms and kitchens, and between basements and other play areas where kids can make a lot of noise.
Abuse Resistance (AR)
Offered in 5/8″, abuse resistance drywall is designed for heavy use applications like sport courts or exercise rooms.
As residential remodeling contractors, we do not often use abuse resistance drywall, but it is a great option for niche applications.
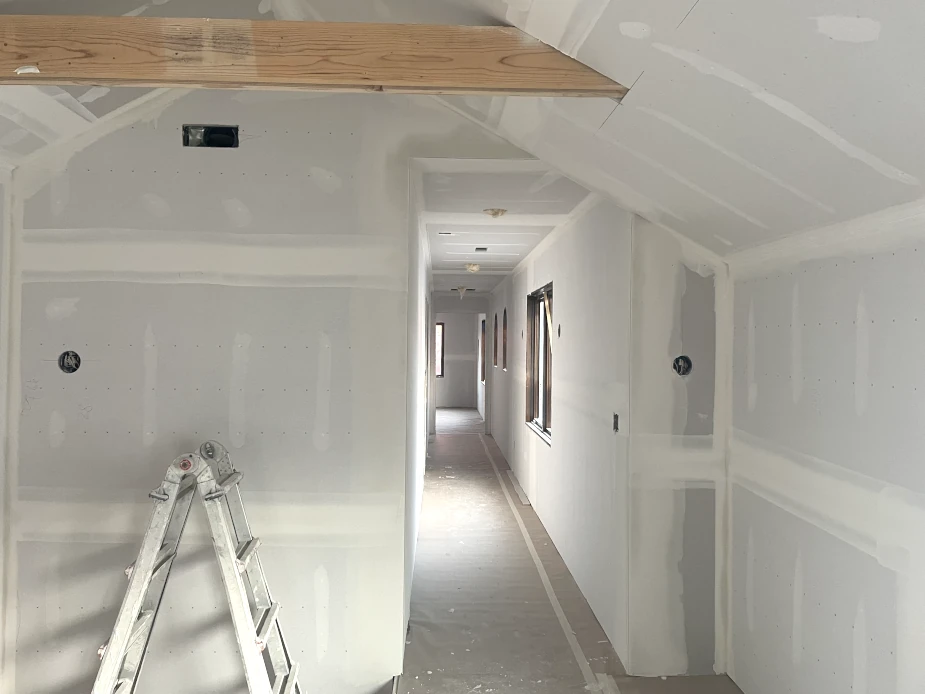
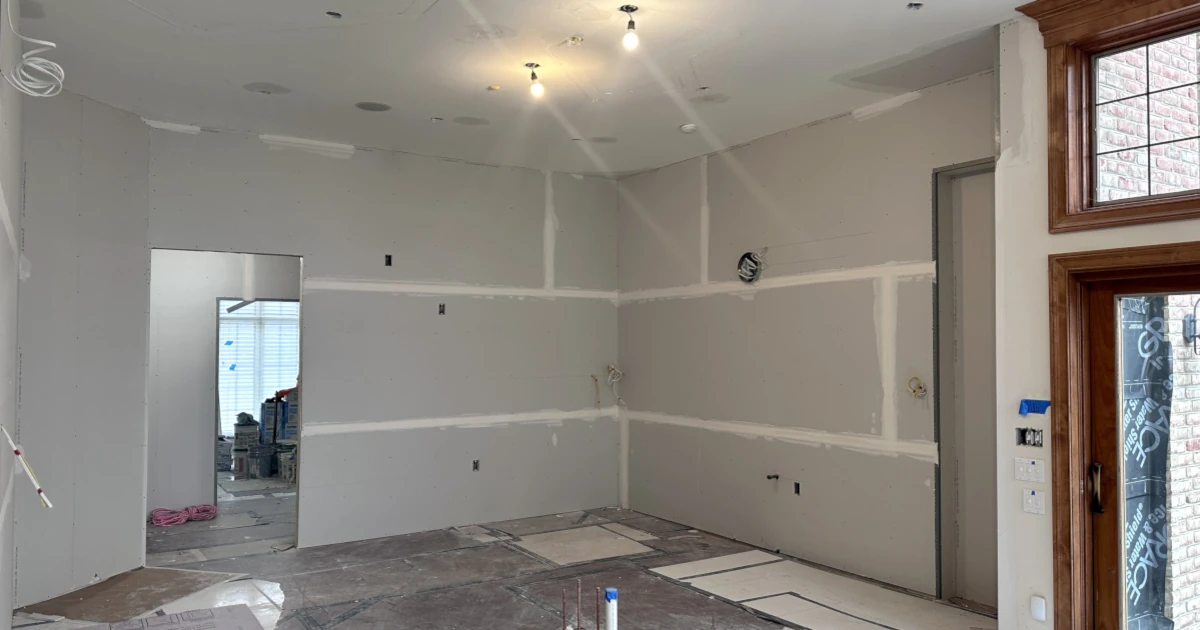
 Complete Guide to Drywall: Finish Levels
Level 0
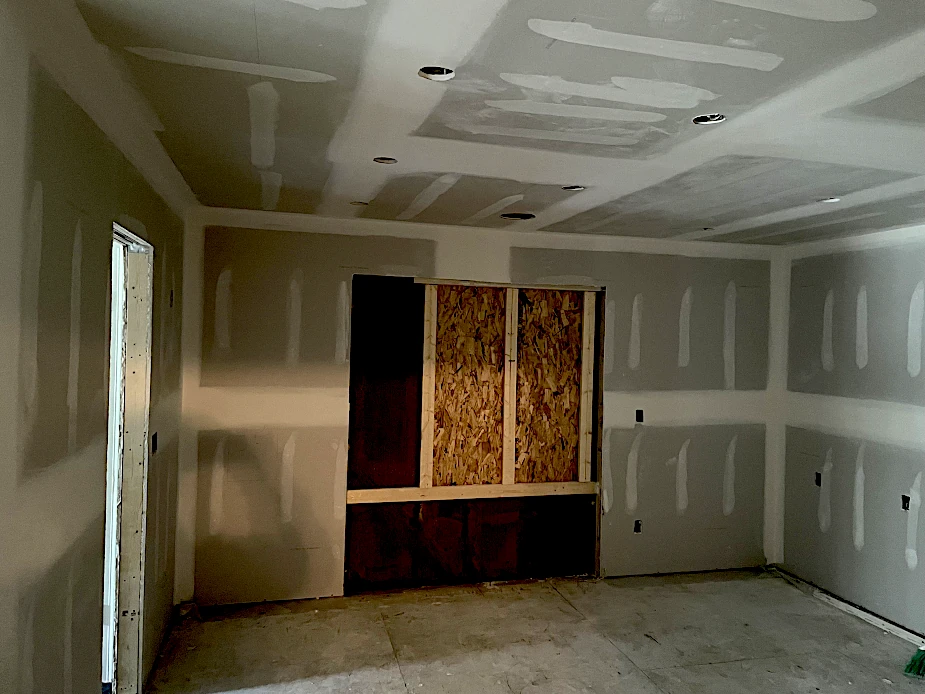
Used in the introductory phase of construction, this level of drywall has no finishing, tape, or accessories. Level 0 is for temporary construction or places where the final finish is not yet decided.
Level 1
Also known as fire taping, Level 1 drywall is typically specified for joint treatment in smoke barrier applications and areas not normally open to public view, such as plenum areas above ceilings, or attics.
- All joints and interior angles should have tape embedded in joint compound. Excess joint compound and tool marks are acceptable; fastener heads need not be covered.
- Accessories are not required, unless specified in the project documents.
Level 2
Typically specified where gypsum panel products are used as a substrate for tile; may be used in garages, warehouse storage, or other similar areas where surface appearance is not a concern.
- All joints and interior angles should have tape embedded in joint compound and be wiped with a joint knife, leaving a thin coating of joint compound over all joints and interior angles.
- If you applied joint compound over the body of the tape and smoothed at the time of embedment during Level 1, that will suffice for Level 2.
- Fastener heads and accessories should be covered with one coat of joint compound. Surface should be free of excess joint compound. Tool marks are acceptable.
Level 3
Typically specified in areas that are to receive heavy- or medium-texture finishes (spray or hand applied) before final painting, or where heavy-duty/commercial grade wall coverings are to be applied as the final decoration.
This is not the proper finish for smooth wall designs or where light textures, non-continuous textures, or lightweight wall coverings will be applied.
- All joints and interior angles should have tape embedded in joint compound and should be immediately wiped with a joint knife, leaving a thin coating of joint compound over all joints and interior angles.
- One separate coat of joint compound should be applied over all joints and interior angles.
- Fastener heads and accessories should be covered with two separate coats of joint compound. The surface should be smooth and free of tool marks.
Note: Applying a primer prior to final painting or wallpapering is recommended.
Level 4
Typically specified in public areas where smooth wall designs are decorated with flat paints, light textures, non-continuous textures, or wall coverings.
Unbacked vinyl wall coverings are not recommended. Non-flat or dark/deep tone paints are not recommended. Refer to Level 5.
In critical lighting areas, flat paints applied over light continuous textures may reduce joint photographing—a common defect where seams and joints in the drywall are visible through the finish.
The weight, texture, and sheen level of wall coverings applied over this level of finish should be carefully evaluated. Joints and fasteners must be adequately concealed if the wall covering used is of lightweight construction, contains limited pattern, or has a sheen level other than flat.
- All joints and interior angles should have tape embedded in joint compound and should be immediately wiped with a joint knife, leaving a thin coating of joint compound over all joints and interior angles.
- Two separate coats of joint compound should be applied over all flat joints and one separate coat of joint compound should be applied over interior angles.
- Fastener heads and accessories should be covered with three separate coats of joint compound. The surface should be smooth and free of tool marks.
- Where glass mat and/or fiber-reinforced gypsum panels are installed, refer to the gypsum panel or finishing product manufacturers for specific finishing recommendations.
Note: Applying a primer prior to final painting or wallpapering is recommended.
Level 5
Typically specified in appearance areas where smooth wall designs are decorated with non-flat paints (i.e., sheen/gloss) or other glossy decorative finishes, dark/deep tone paints are applied, or critical lighting conditions occur.
This level of finish is the most effective method to provide a uniform surface and minimize the possibility of joint photographing and/or fasteners showing through the final paint or wallpaper.
- All joints and interior angles should have tape embedded in joint compound and should be immediately wiped with a joint knife, leaving a thin consistent coating of joint compound over all joints and interior angles.
- Two separate coats of joint compound should be applied over all flat joints and one separate coat of joint compound should be applied over interior angles.
- Fastener heads and accessories should be covered with three separate coats of joint compound. A skim coat of joint compound or a material manufactured especially for this purpose should be applied to the entire surface. The surface should be smooth and free of tool marks.
- Where glass mat and/or fiber reinforced gypsum panels are installed, refer to the gypsum panel manufacturer for specific finishing recommendations.
Note: Applying a primer prior to final painting or wallpapering is recommended.
 Complete Guide to Drywall: Popular textures in the Midwest
Popcorn
While remodeling contractors typically get the call to remove popcorn texture, it was a popular in low- to mid-cost housing as well as in multi-family housing. Typically, this texture was used on ceilings from the 1950s to the 1980s.
Popcorn ceilings were popular with home builders because it hid imperfections in the drywall work, allowing them to build more quickly and cheaply.
In addition to being quick for builders to apply, popcorn ceilings also provided acoustic dampening, which was great for apartment dwellers or families with children.
In the late 1970s, popcorn ceiling manufactures switched from asbestos to polystyrene particles to achieve the same look. If your home was built before 1980 and you have popcorn ceilings you want to remove, be sure to contact a qualified remodeling contractor to test your ceilings for asbestos.
Knockdown
Knockdown texture is the modern popcorn. While popcorn textures were used mostly on ceilings, knockdown is used on all drywall surfaces. Production home builders use this method to hide imperfections in the drywall and speed up the job.
Once the drywall is taped, a hopper is used to spray particles of drywall compound onto the wall. A large, flexible plastic paddle is dragged down the wall to give the particles of compound the knockdown look.
Orange Peel
Orange peel texture is sometimes referred to as eggshell or splatter texture. As high-end remodeling contractors, we do not use this often, but it is commonly used in commercial construction, by new construction builders, and in multifamily construction.
Orange peel is more subtle than knockdown texture and is easier to clean, while still hiding imperfections and making the drywall process faster.
Skip Trowel
Skip trowel is a drywall texture created by spreading drywall joint compound in random arches. While it is used in some homes to hide imperfections, we often apply this texture in remodeling projects in Whitefish Bay to match the existing conditions on the plaster.
Sand
Sand texture is exactly what is sounds like. Your builder will introduce sand into the drywall primer to give the wall a rough texture. This texture is common in garages.
The Right Drywall for Your Home Remodel
While drywall work is probably best left to a qualified remodeling contractor, it is important to understand the different drywall types and textures so you can articulate what you want when designing your next project.
Drywall occupies the majority of the surfaces in most people’s home, so make sure to get exactly the finish you want.
If you have additional questions about drywalling or want to schedule a time to discuss your next remodeling project, please feel free to contact us at LaBonte Construction.
 Complete Guide to Drywall: Finish Levels
 Complete Guide to Drywall: Popular textures in the Midwest